When it comes to reversing signs of aging, LED light therapy is more than just a trend—it’s a science-backed, non-invasive way to stimulate collagen production, reduce fine lines, and restore skin’s natural radiance. But to achieve optimal red light therapy results, what you do before and after each session is just as important as the treatment itself.
In this guide, we'll walk you through the ultimate LED light therapy skincare routine—from essential pre-treatment prep to nourishing aftercare rituals—to help you unlock the full anti-aging potential of your red light device.
Why Pre-Treatment Matters for LED Light Therapy
The effectiveness of your anti-aging LED treatment relies heavily on how you prepare your skin beforehand. Think of it like this: you wouldn’t paint a masterpiece on a dusty canvas.
Here’s why LED therapy prep is essential:
- Removes barriers: Cleansing eliminates dirt, makeup, SPF, and oil that can block LED light from reaching skin cells.
- Enhances absorption: Clean, exfoliated skin allows for deeper light penetration and more efficient cellular activity.
- Prevents irritation: Some ingredients (like retinol or AHAs) can increase photosensitivity and must be avoided to prevent adverse reactions.
Clinical Insight: This study found that prepped, clean skin showed better mitochondrial activation during photobiomodulation than unwashed skin—proving that even a simple cleanse boosts red light therapy’s performance.
Step-by-Step Pre-Treatment Routine
Following the right steps before your LED session ensures safe, radiant, and age-defying results:
| Step | Action | Product Type |
|---|---|---|
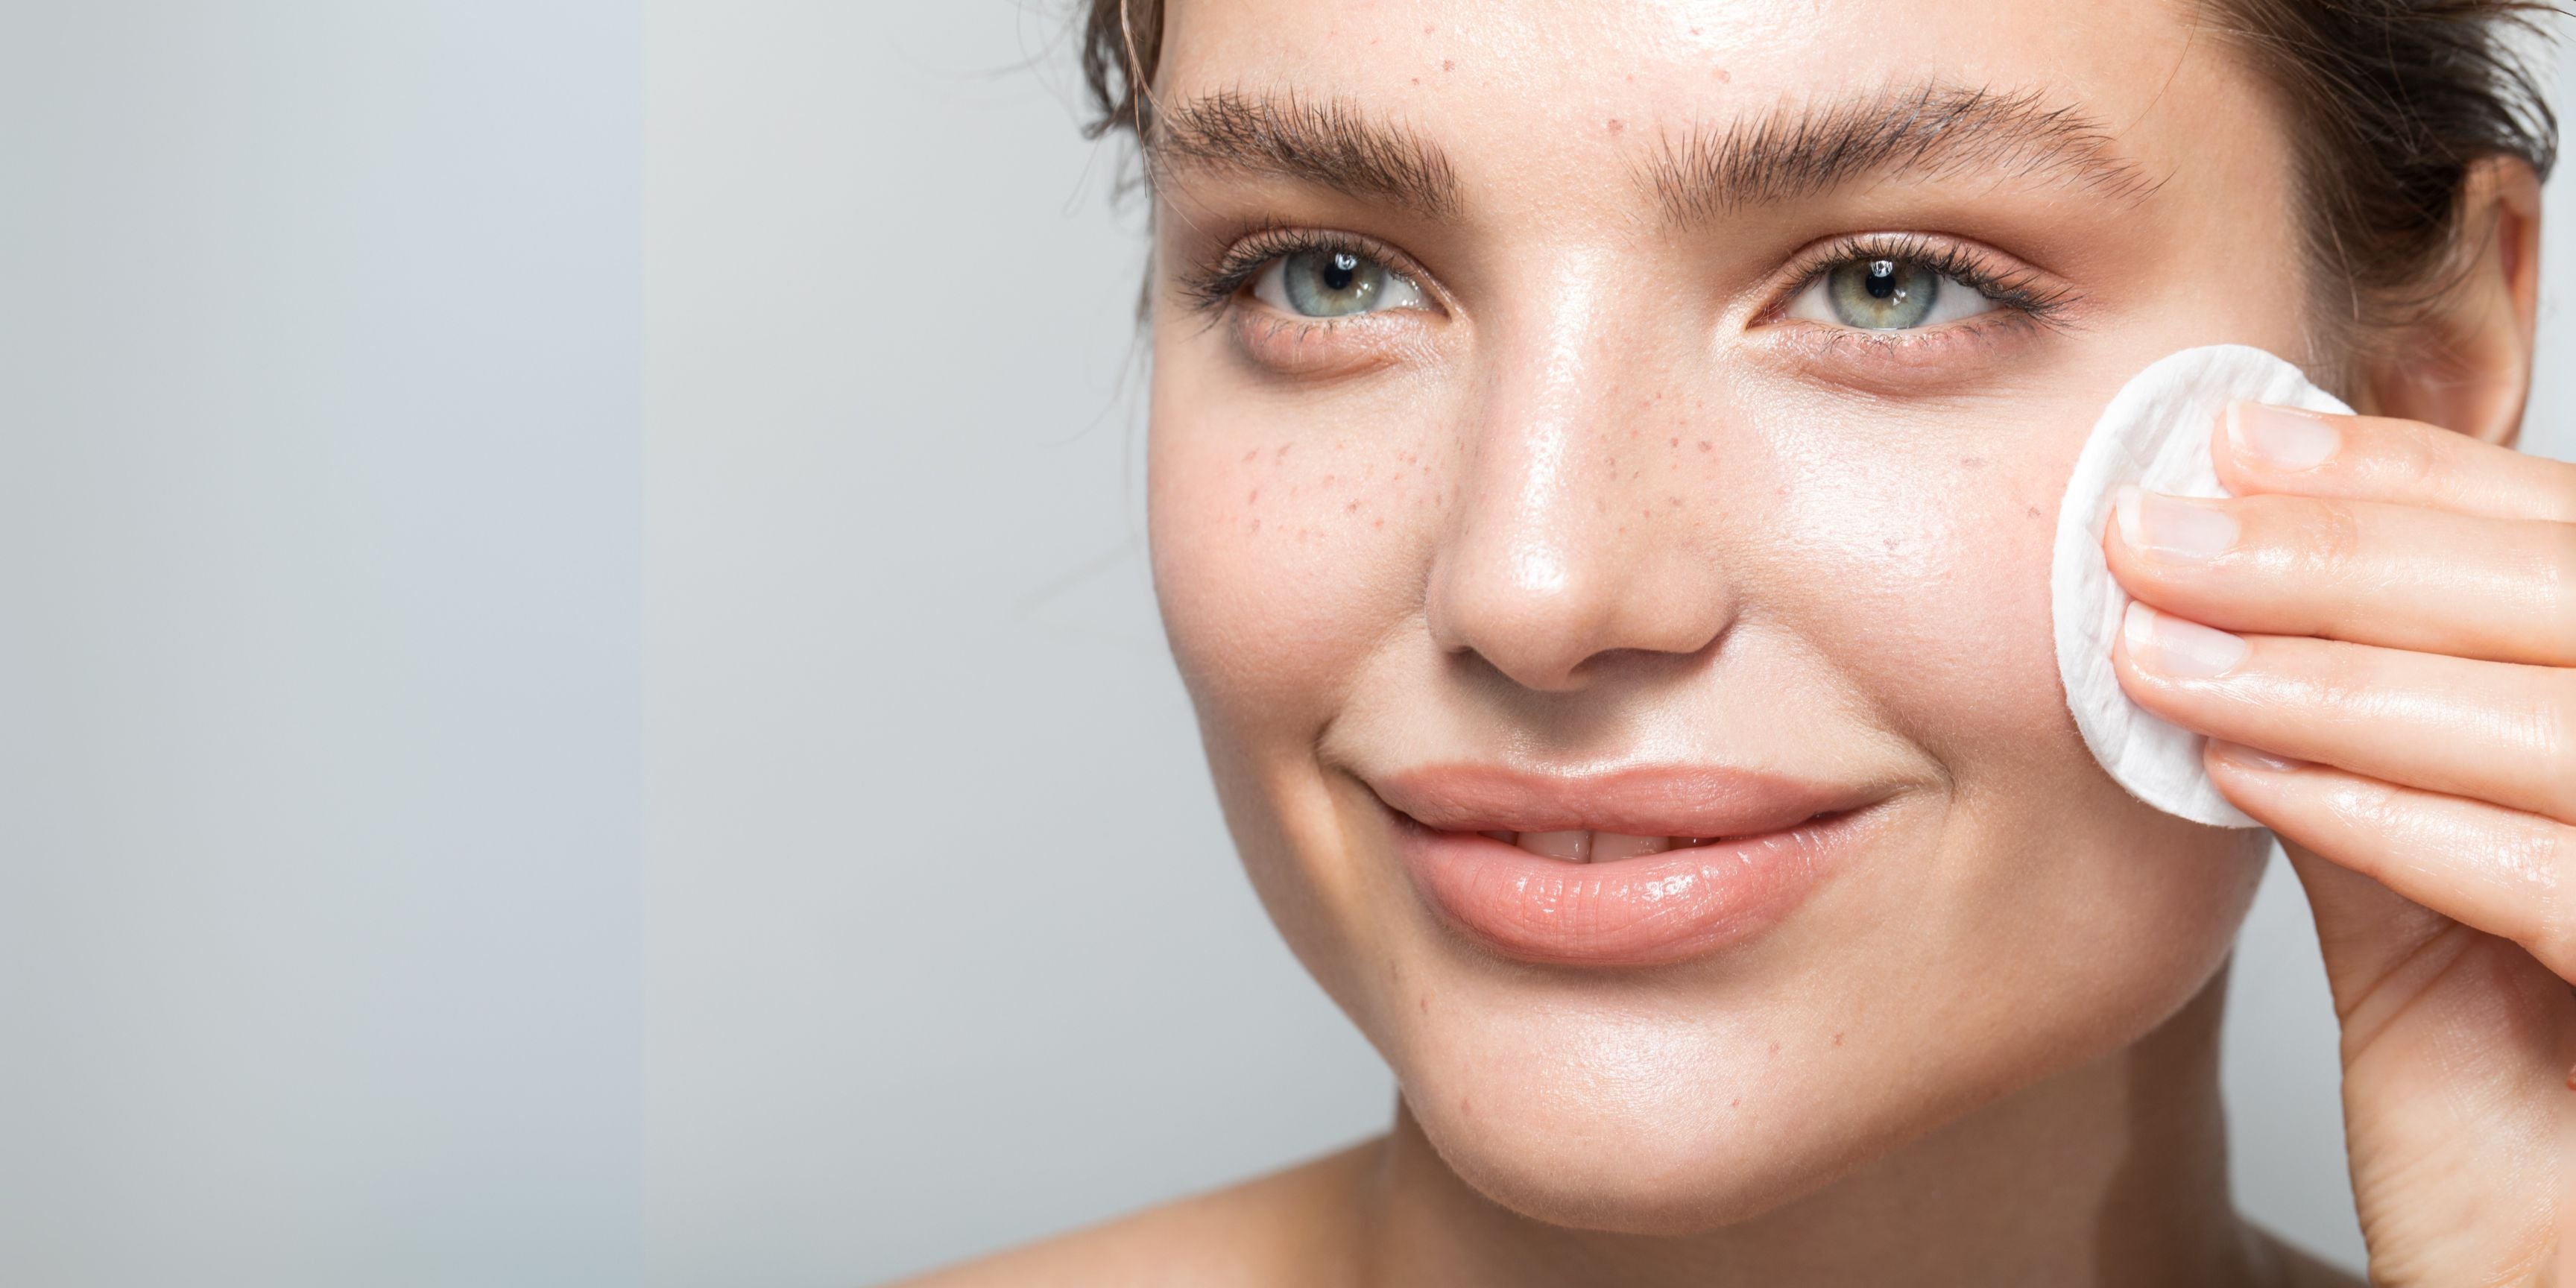
| 1 | Cleanse Gently | Use a pH-balanced, non-stripping cleanser. This removes impurities without disrupting the skin barrier. |
| 2 | Exfoliate (2–3x/week) | A peeling gel or gentle AHA helps slough off dead skin cells that block LED light. Don’t exfoliate daily to avoid over-sensitizing the skin. |
| 3 | Hydrate Lightly | Apply a hydrating mist or toner. Opt for LED-compatible skincare with ingredients like aloe or rose water. |
| 4 | Avoid These Ingredients | No retinol, acids, or harsh actives at least 12–24 hours before your session. These can cause redness or reduce treatment efficacy. |
🧴 Pro Tip: Glamour’s Peeling Gel is perfect for exfoliation before LED treatment—it gently removes dead skin while prepping the surface for max light absorption.
During Treatment: Best Practices
To get the most from your LED therapy for wrinkles, follow these during-use tips:
- Start with clean, dry skin (unless the device is designed for serum use)
- Position your LED device correctly (follow manufacturer’s guidelines for optimal distance & timing)
- Target wrinkle-prone zones: forehead, crow’s feet, cheeks, neck, and décolleté
- Relax and stay still: Let the light penetrate—no scrolling or distractions
💡 Want to know how to use LED for wrinkles effectively? Combine red (630–660nm) and near-infrared (830–850nm) wavelengths for deeper collagen stimulation and tissue repair.
Aftercare Routine: Post-Treatment Skin Support
Your skin is in “recovery mode” after light exposure and needs nourishment to heal, regenerate, and stay protected.
| Goal | Ingredient | Product Example |
|---|---|---|
| Soothe | Aloe, Niacinamide | Lightweight calming serum |
| Restore Barrier | Peptides, Ceramides | Anti-Wrinkle Lifting Solution |
| Lock in Moisture | Hyaluronic Acid, Squalane | LED-safe, fragrance-free moisturizer |
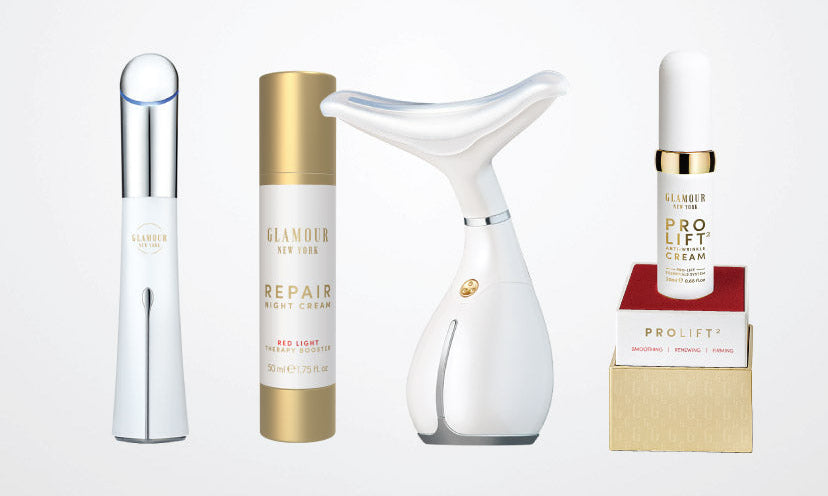
| Firm Neck & Décolleté | Acai Stem Cells | Rejuveneck firming tool + cream |
Avoid: harsh acids, scrubs, retinoids, or sun exposure for 6–8 hours after treatment.
Weekly Maintenance Tips for Long-Term Results
To maintain long-lasting anti-aging LED treatment benefits:
- Use LED 3–5x per week consistently
- Clean your LED device with antibacterial wipes after every session
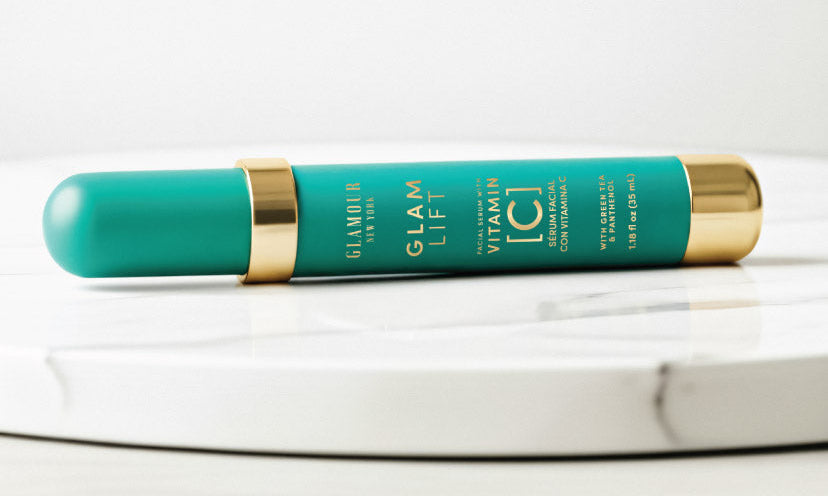
- Apply Pro Lift² serum post-treatment to enhance firmness and smoothness
- Wear SPF daily—even indoors—to protect newly stimulated skin
Bonus Tips for Faster Results
Want your red light therapy before and after photos to wow?
- Combine red + near-infrared light to target both surface and deep layers
- Hydrate well and take collagen-boosting supplements or peptides
- Follow an antioxidant-rich diet (berries, greens, green tea)
- Skip smoking and sugar—they accelerate aging through glycation
Frequently Asked Questions (FAQs)
Can I use vitamin C before LED therapy?
Yes, but only stabilized vitamin C serums, and only if they’re proven to be LED-compatible. Avoid L-ascorbic acid if your skin is sensitive.
How soon will I see anti-aging results?
Many users notice smoother skin in 4–6 weeks, with dramatic collagen boost and firmness appearing by 12 weeks with consistent use.
What skincare is best to use after LED light therapy?
Stick with barrier-repairing and hydrating formulas—think peptides, aloe, ceramides, and hyaluronic acid.
Should I exfoliate before every LED session?
No. Exfoliate 2–3x per week max. Daily exfoliation can damage the skin barrier and reduce photobiomodulation skin benefits.
Conclusion: Prep Like a Pro, Glow Like Never Before
LED therapy is one of the most exciting anti-aging tools available—but to truly experience its benefits, your skin needs to be prepped, protected, and pampered every step of the way.
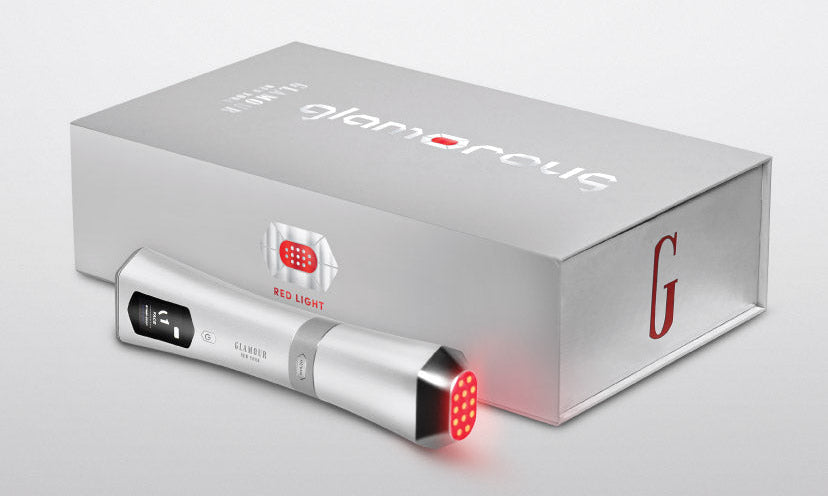
Glamour NYC makes it easy to build your LED light therapy skincare routine with high-performance products that support every phase of your journey—from red light therapy skin prep to LED aftercare routine essentials.

