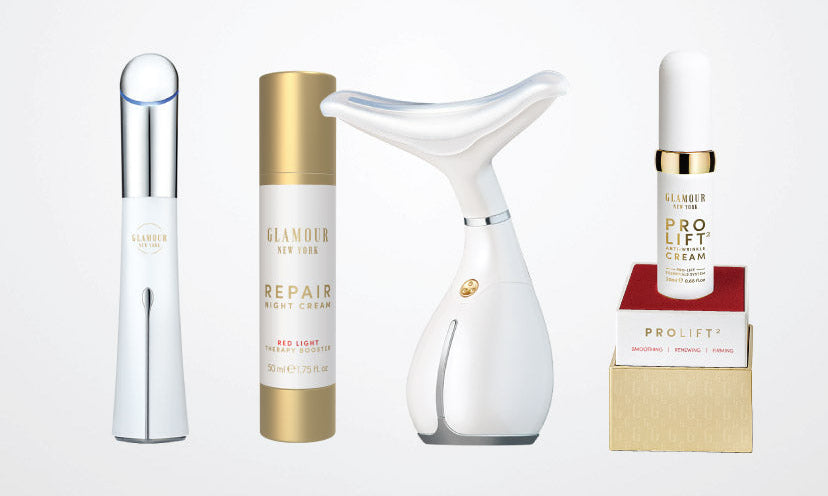
Using an LED device is powerful—but to get the full anti-aging, brightening, and clarifying benefits, your LED skincare routine needs to be built with the right products, order, and timing. This guide explains how to prep your skin, layer LED-compatible ingredients, and get lasting results from red and blue light therapy.
Understanding LED Skincare Therapy
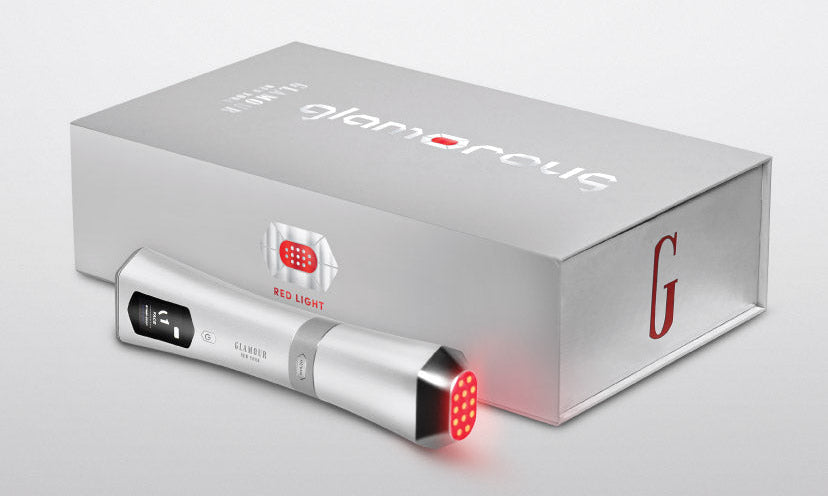
What Is an LED Device and How It Works on Skin
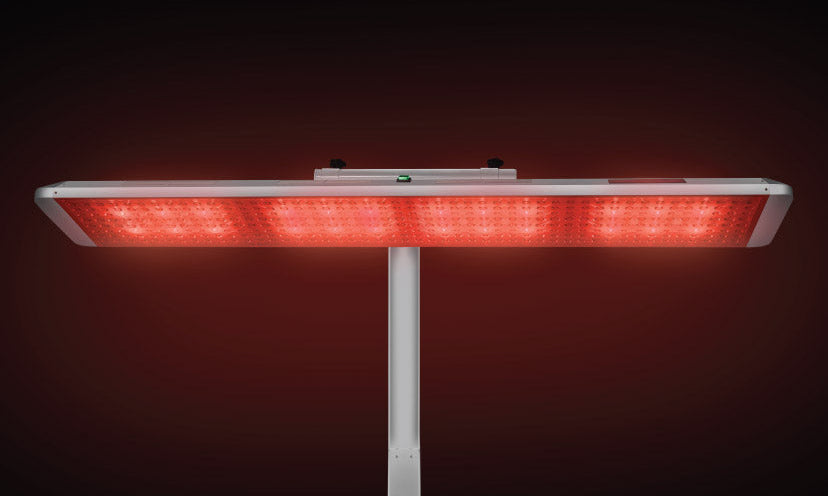
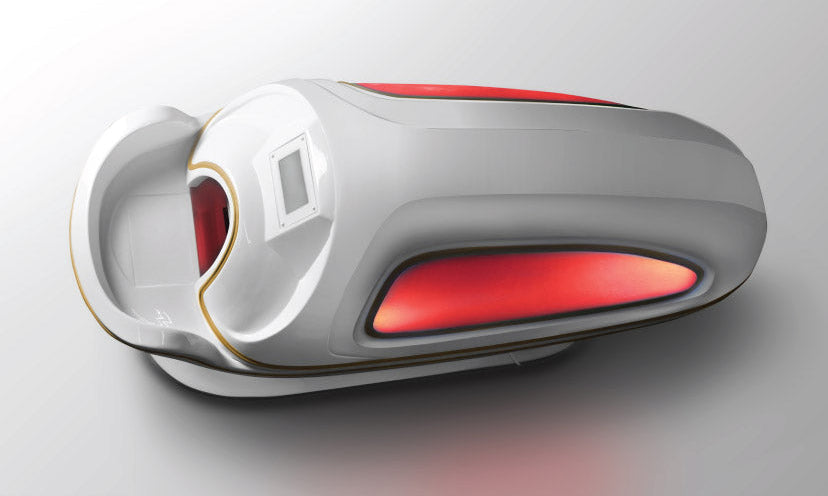
LED (light-emitting diode) devices use specific wavelengths—typically red (630–660 nm) and near-infrared (800–850 nm)—to boost cell regeneration and collagen production. A clinical review found that using red and near-infrared light consistently for 8–10 weeks improved wrinkles, elasticity, and overall skin tone.
A separate study on home LED devices showed measurable gains in elasticity and hydration within 8 weeks, with no adverse effects reported.
The Science Behind Red and Blue Light Therapy
- Red / Near-Infrared Light: Penetrates deep layers of skin to stimulate fibroblasts and collagen. (Read more)
- Blue Light: Targets surface bacteria that cause acne. (Cleveland Clinic Guide)
Because LED light is non-thermal, it won’t burn or damage skin, making it safe for frequent home use.
Why Your Skincare Routine Matters When Using an LED Device
How Products Interact With Light Therapy
Certain skincare products can block light penetration or cause sensitivity. Your LED routine should focus on non-photosensitizing, transparent, and lightweight formulas that enhance absorption rather than interfere.
Common Mistakes When Pairing Skincare With LED Treatments
- Applying occlusive creams before treatment
- Using acids or retinoids right before LED exposure
- Skipping post-LED hydration
- Rushing product absorption without buffer time
How to Tell If a Product Is LED-Compatible
Choose products labeled as “LED-compatible” or “red light safe.” Avoid metallic finishes, reflective mica, or formulas with photosensitizing essential oils.
Step-by-Step: How to Build the Perfect LED Skincare Routine
Step 1: Cleanse and Prep the Skin
Start with a gentle, non-stripping cleanser such as the Gentle Foam Cleanser to remove oil and buildup. Avoid high-alcohol toners or exfoliating acids immediately before your LED session.

Step 2: Apply LED-Compatible Serums and Boosters
Opt for hydrating actives such as hyaluronic acid and peptides to prime the skin. These improve conductivity and barrier function without obstructing light.
Step 3: Perform Your LED Session
Follow your device’s manual, keep it 1–2 inches from your face, move slowly, and protect your eyes. Sessions generally last 10–20 minutes depending on intensity.
Step 4: Post-LED Care — Lock in Hydration
After your session, apply barrier-supporting moisturizers like the Renewal Day Cream or Repair Night Cream. These creams help restore hydration and seal in moisture while minimizing transepidermal water loss (TEWL).
Step 5: Weekly Add-Ons (Exfoliants, Masks, Peeling Gels)
Use the Peeling Gel 1–2 times weekly to gently exfoliate dead cells—just avoid exfoliation on LED days.
Ingredients That Work Best With LED Skincare Devices
Safe and Effective Actives
- Hyaluronic Acid: Deep hydration and barrier protection
- Peptides: Strengthen and repair collagen networks
- Niacinamide: Brightens and supports barrier repair
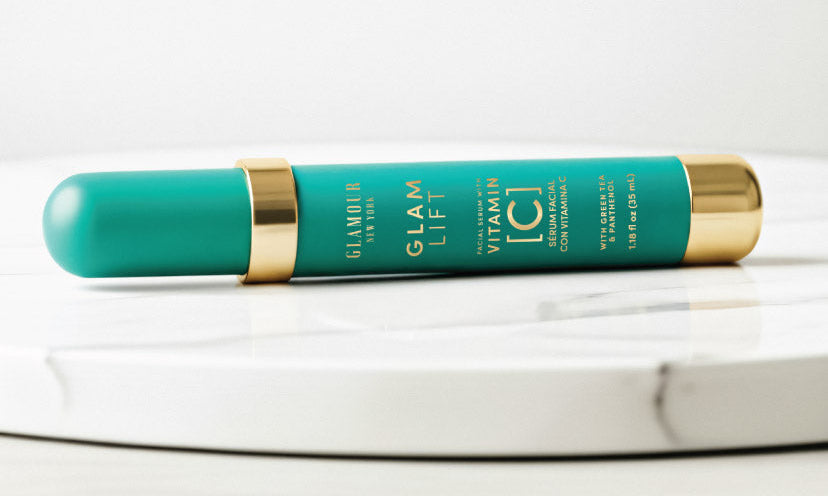
- Antioxidants (Vitamin C, E): Defend against oxidative stress post-LED
Ingredients to Avoid
- Retinoids or strong exfoliating acids (AHA/BHA)
- Photosensitizing botanicals (citrus, lavender oil)
- Metallic or reflective particles in creams
Morning vs Evening LED Skincare Routines
Best Times to Use Your LED Device
Evening sessions are most popular because the skin enters its repair phase overnight. Daytime treatments are fine if you follow with SPF.
Sample Routine Table
| Time of Day | Step | Recommended Product | Notes |
|---|---|---|---|
| Morning | Cleanse | Gentle Foam Cleanser | Prep skin before antioxidants |
| Serum | Hydrating serum (HA or peptides) | LED optional in morning | |
| Moisturize + SPF | Renewal Day Cream | Always finish with SPF | |
| Evening | Cleanse | Peeling Gel 1–2x weekly | Avoid same day as LED |
| LED Session | Device-specific | 10–20 minutes | |
| Moisturize | Repair Night Cream | Lock in hydration |
How Often Should You Use an LED Device
- Anti-aging: 3–5 sessions/week for 8–12 weeks
- Acne reduction: Alternate red + blue wavelengths 2–3 times/week
- Brightening: 2–4 sessions/week
Consistent use has shown visible improvements in 4–8 weeks (study link).
Maximizing Results: Pairing LED With Other Treatments
LED and Exfoliation
Perform exfoliation (like your Peeling Gel) 24 hours before or after LED to avoid irritation.
LED and Hydration Boosters
After LED, layer humectants and barrier creams like the Pro Lift Anti-Wrinkle Cream to boost firmness and elasticity.
LED and Collagen Stimulation
Red + near-infrared light paired with peptides and growth factors increases collagen synthesis efficiency. (Research summary)
Recommended Products for an LED-Compatible Routine
-
Renewal Day Cream – Light moisture protection before LED
-
Repair Night Cream – Deep overnight barrier recovery
-
Peeling Gel – Gentle exfoliation for optimal light penetration
- Pro Lift Anti-Wrinkle Cream – Peptide-rich, red-light compatible treatment

FAQs: LED Skincare Routine
Q: Why is my skin slightly red after using an LED device?
Mild redness is common from increased circulation. Apply a soothing barrier cream like the Repair Night Cream and avoid exfoliants for 24 hours.
Q: Can I use makeup right after LED therapy?
Yes, but wait at least 15 minutes and ensure your skincare has fully absorbed.
Q: How soon will I see results?
Most users report visible texture and tone improvements in 4–8 weeks of consistent use. (PubMed study)
Final Thoughts: Create a Routine That Enhances LED Results
Your LED device is a skincare amplifier—it works best when paired with high-quality, compatible skincare. Focus on hydration, collagen support, and barrier repair, and your results will continue to improve month after month.

